Every product is independently reviewed and selected by our editors. If you buy something through our links, we may earn an affiliate commission at no extra cost to you.
A wall heater can keep your home warm and cozy, but if it’s clogged with dust and dirt, it won’t run as safely or efficiently as it should.
Regular cleaning not only improves performance but also reduces fire risks and extends the life of your unit. The process is simple—you just need the right steps and a bit of care.
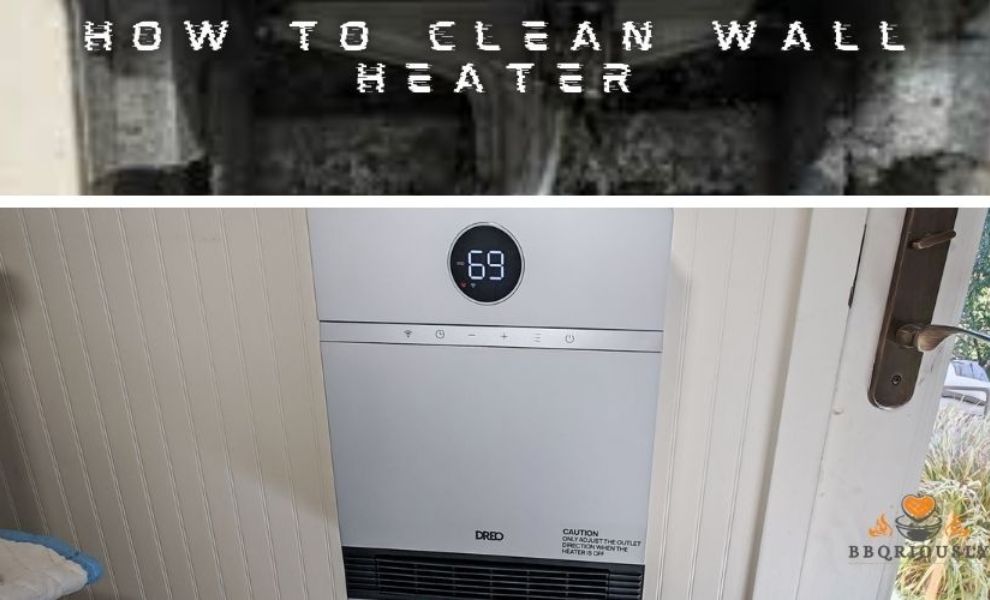
How to Clean Wall Heater: Easy Steps for a Safe, Efficient Home
A clean wall heater means better efficiency, lower risks, and a warmer home. Learn the easy steps to keep yours safe, reliable, and running smoothly.
Safety Precautions
Cleaning a wall heater requires attention to safety to avoid accidents and damage. Before starting, take important safety steps to protect yourself and your home. These precautions help prevent electric shocks, burns, and other hazards during cleaning. Follow simple safety rules to keep the process smooth and safe.
Turn Off Power Supply
Always turn off the power supply before cleaning a wall heater. This step is critical to avoid electric shocks or short circuits. Locate the circuit breaker or fuse box that controls the heater and switch it off. Confirm the heater is off by trying to turn it on or checking the power indicator light.
Here is a quick checklist for turning off the power supply:
- Find the correct circuit breaker or fuse for the heater.
- Switch off the breaker or remove the fuse.
- Double-check that the heater does not turn on.
- Use a voltage tester for extra safety, if available.
| Step | Action | Purpose |
| 1 | Locate circuit breaker | Identify the power source for the heater |
| 2 | Turn off breaker | Cut electrical power to the heater |
| 3 | Test heater | Ensure power is off to avoid shock |
Never skip this step. Working on a heater with live power is dangerous. Take your time to confirm the heater is completely off before you start cleaning.
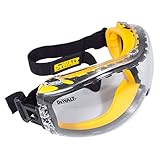
Wear Protective Gear
Protective gear is essential while cleaning a wall heater. Dust, dirt, and debris can irritate your skin and lungs. Some heaters contain sharp edges inside that can cause cuts. Wearing the right gear keeps you safe and comfortable during the job.
Here is a list of recommended protective gear:
- Gloves:Use sturdy gloves to protect your hands from cuts and dirt.
- Safety glasses:Shield your eyes from dust and debris.
- Mask:Wear a dust mask to avoid breathing in fine particles.
- Long sleeves:Cover your arms to prevent scratches and irritation.
| Gear | Purpose | Example |
| Gloves | Protect hands from cuts and dirt | Leather or thick cotton gloves |
| Safety glasses | Protect eyes from dust and debris | Clear safety goggles |
| Mask | Prevent inhaling dust | Disposable dust mask or respirator |
| Long sleeves | Protect skin from irritation | Lightweight long-sleeve shirt |

Wear all protective gear before starting. This prevents injuries and keeps you healthy. If you feel uncomfortable or notice dust, stop and adjust your gear. Safety comes first during every step of cleaning.
Gathering Cleaning Tools
Cleaning a wall heater is important for safety and efficiency. Before starting, gather all necessary tools. Having the right supplies ready makes the process smoother and faster. This section lists the essential and optional tools needed to clean your wall heater effectively.
Essential Cleaning Supplies
Start with basic cleaning supplies. These tools help remove dust, dirt, and debris from your wall heater’s surface and vents. Use them regularly to keep the heater working well and to improve air quality in your home.
- Soft cloths or microfiber towels:For wiping surfaces without scratching.
- Vacuum cleaner with brush attachment:Removes dust inside vents and grills.
- Compressed air canister:Blows out dust from hard-to-reach places.
- Mild detergent or soap:Cleans dirt and stains on the heater’s exterior.
- Bucket of warm water:Used with detergent for washing parts.
- Gloves:Protect hands from dirt and cleaning chemicals.
Keep these supplies within reach before starting. A simple table below shows their main uses:
| Tool | Main Use |
| Soft Cloths | Wiping dust and cleaning surfaces |
| Vacuum Cleaner | Removing dust from vents and grills |
| Compressed Air | Blowing dust from tight spaces |
| Mild Detergent | Cleaning dirt and stains |
| Gloves | Hand protection |

Optional Tools For Deep Cleaning
Deep cleaning your wall heater requires extra tools. These help clear stubborn dirt and improve heater performance. Use them occasionally for a thorough clean.
- Small brush or paintbrush:Clears dust from small, tight spots inside the heater.
- Screwdriver set:Opens heater panels safely for internal cleaning.
- Foam cleaner or coil cleaner:Removes built-up grime on heating elements.
- Flashlight:Illuminates dark areas inside the heater.
- Disposable dust mask:Protects lungs from dust particles during cleaning.
These tools help maintain your heater’s internal parts. They make your cleaning more effective and keep the heater running longer.
| Tool | Purpose |
| Small Brush | Cleaning tight spaces inside heater |
| Screwdriver | Opening panels for deep cleaning |
| Foam Cleaner | Removing grime on heating parts |
| Flashlight | Lighting dark internal areas |
| Dust Mask | Protecting lungs from dust |


Preparing The Heater
Preparing your wall heater for cleaning is an important first step. It ensures safety and helps you reach all the parts that need cleaning. Before starting, make sure the heater is switched off and completely cool.
This prevents burns and electrical hazards. Taking time to prepare the heater well will make the cleaning process easier and more effective.
Remove Heater Cover
Start by removing the heater cover carefully. The cover protects the internal parts but can collect dust and dirt over time. Removing it gives you access to the inside parts that need cleaning.
Follow these steps to remove the heater cover:
- Turn off the heater and unplug it from the power source.
- Look for screws or clips holding the cover in place.
- Use a screwdriver to remove the screws or gently unclip the cover.
- Lift the cover away slowly to avoid damaging any wires.
Keep the screws or clips in a safe place to avoid losing them. Some heater covers are held by magnets or snap-fits, so check your heater type before removing.
| Type of Heater Cover | Removal Method | Tools Needed |
| Screw-mounted cover | Unscrew with screwdriver | Phillips or flat-head screwdriver |
| Clip-on cover | Unclip gently by hand | No tools needed |
| Magnetic cover | Pull off carefully | No tools needed |
Once removed, place the cover on a clean surface. This avoids adding more dust back onto the heater during cleaning.
Check For Dust And Debris
After removing the cover, check the heater for dust and debris. Dust can block airflow and reduce heater efficiency. Debris might cause damage if left inside.
Look carefully inside the heater for:
- Dust build-up on heating elements and vents
- Loose dirt or small objects
- Cobwebs or insect nests
Use a soft brush or vacuum cleaner with a brush attachment to remove dust. Avoid using water or wet cloths inside the heater parts. This can cause electrical problems.
Here is a checklist to help with this step:
| Area | What to Look For | Cleaning Tool |
| Heating elements | Dust, dirt, cobwebs | Soft brush or vacuum |
| Air vents | Dust, blockages | Vacuum or compressed air |
| Inside the unit | Loose debris or objects | Gloved hand or soft brush |
Take your time to clean thoroughly. Removing all dust and debris helps the heater work better and last longer. It also improves safety by reducing fire risks.
Cleaning The Heater Interior
Cleaning the interior of a wall heater is essential for safety and efficiency. Dust and dirt inside the heater can block airflow and cause overheating. Regular cleaning keeps the heater working well and extends its life. Follow these steps carefully to clean the inside without damaging any parts.
Vacuuming Dust
Start by removing the heater cover to access the inside. Use a vacuum cleaner with a brush attachment to remove dust. Focus on corners and crevices where dust gathers. Avoid using a vacuum without a brush as it may damage delicate parts.
- Turn off the heater and unplug it before cleaning.
- Remove the front panel or cover carefully.
- Use the vacuum brush to clean all visible dust.
- Pay special attention to air vents and fan blades.
- Vacuum slowly to avoid stirring dust into the air.
Vacuuming reduces dust buildup that can cause the heater to work harder. It also helps prevent allergens from circulating in your home.
Wiping Surfaces
After vacuuming, wipe the heater’s interior surfaces to remove remaining dirt. Use a soft, damp cloth with mild soap. Avoid harsh chemicals that could damage metal or electrical parts. Make sure the cloth is not too wet to prevent moisture damage.
Follow these simple steps for wiping:
- Dampen a cloth with warm, soapy water.
- Wipe down all accessible surfaces inside the heater.
- Focus on areas where dust sticks tightly.
- Use a dry cloth to remove moisture after wiping.
Wiping removes grime and dust that vacuuming might miss. It also keeps the heater looking clean and prevents corrosion over time.
Cleaning Heating Elements
Heating elements are the core of the wall heater. Dirt on these parts reduces heat output and can cause overheating. Clean the elements gently to avoid damage. Use a soft brush or cloth to remove dust and debris.
Steps to clean heating elements:
- Make sure the heater is completely off and cool.
- Use a soft brush to loosen dust on the elements.
- Wipe carefully with a dry cloth to remove particles.
- Do not use water or liquid cleaners on heating elements.
- Inspect elements for any signs of wear or damage.
Regular cleaning of heating elements improves heat efficiency and safety. It helps the heater run smoothly without extra strain.
Cleaning The Heater Exterior
Cleaning the exterior of your wall heater is a simple but important step in maintaining its performance and appearance.
Dust, dirt, and grime can build up on the outer surface, making the heater look dull and possibly reducing its efficiency. A clean exterior also helps prevent dust from entering the heating system, which can cause problems over time. This section covers easy ways to clean the outside of your heater safely and effectively.
Wiping The Outer Surface
Start by turning off the heater and making sure it is cool to the touch. Use a soft, dry cloth to remove loose dust and dirt from the surface. Avoid using rough or abrasive materials that might scratch the paint or finish.
For stubborn dirt or stains, use a mild soap mixed with warm water. Follow these steps:
- Dampen a soft cloth or sponge in the soapy water.
- Wring out excess water to prevent drips.
- Gently wipe the heater’s exterior, focusing on dirty areas.
- Use a clean, damp cloth to remove any soap residue.
- Dry the surface thoroughly with a dry cloth to avoid water marks.
Here is a quick checklist for wiping the heater exterior:
| Step | Task | Tips |
| 1 | Turn off and cool the heater | Safety first to avoid burns |
| 2 | Remove loose dust with dry cloth | Use a microfiber cloth for best results |
| 3 | Clean with mild soap and water | Avoid soaking the heater |
| 4 | Rinse with damp cloth | Remove all soap to prevent residue |
| 5 | Dry thoroughly | Prevent water spots or rust |
Polishing And Finishing Touches
Polishing the heater’s exterior adds shine and protects the surface from dust buildup. Use a polish suitable for the heater’s material, usually metal or painted metal. Avoid using waxes or strong chemicals that could damage the finish.
Follow these tips for polishing:
- Apply a small amount of polish to a soft cloth.
- Rub gently in circular motions over the entire surface.
- Buff the surface with a clean cloth to remove excess polish.
- Focus on areas that look dull or scratched.
- Polishing once every few months keeps the heater looking new.
Finishing touches include checking for any loose screws or parts on the heater exterior. Tighten screws carefully to avoid damage. Wipe any fingerprints or smudges left after polishing to maintain a clean look.
Use this simple routine to keep your wall heater attractive and in good condition:
- Clean the surface as described above.
- Polish the heater to restore shine.
- Inspect and tighten any loose parts.
- Remove any final smudges with a dry cloth.
Regular care of the heater exterior improves its lifespan and keeps your home looking tidy.
Reassembling And Testing
After cleaning your wall heater, putting it back together and checking it is very important. This step ensures the heater works safely and efficiently. Taking time to reassemble correctly avoids damage and makes sure the heater heats well. Testing the heater helps find any problems before regular use. Follow these simple steps to finish the job right.
Replace Heater Cover
Start by carefully placing the heater cover back onto the unit. The cover protects the internal parts from dust and damage. Align the cover with the screw holes or clips exactly as it was before removal.
- Check for any leftover dust or debrison the cover before reinstalling.
- Handle the cover gentlyto avoid bending or breaking it.
- Ensure all wires and componentsare inside the heater and not pinched.
Use the right screws or fasteners to secure the cover. Tighten screws evenly but do not overtighten, which can crack the cover or strip the holes.
| Step | Action | Tip |
| 1 | Align heater cover with unit | Match screw holes carefully |
| 2 | Check for dust and clean cover | Use a dry cloth if needed |
| 3 | Secure cover with screws | Tighten screws evenly, avoid overtightening |
Reinstalling the heater cover properly keeps the heater safe and ready for use. This step completes the cleaning process and prepares the heater for power restoration.
Restore Power And Test
After the heater cover is back in place, restore power to the unit. This step checks if the heater works correctly and safely. Follow these points carefully:
- Switch on the circuit breakeror plug in the heater.
- Set the thermostatto the desired temperature.
- Listen for unusual soundslike clicking or buzzing.
- Feel for warm aircoming from the heater vents.
- Watch for any error lights or indicatorson the heater.
If the heater does not warm up after several minutes, turn off power immediately and check connections again.
Use this simple checklist to test the heater:
| Test | What to Look For | Action If Problem |
| Power | Heater turns on | Check power source and switch |
| Thermostat | Heats to set temperature | Adjust thermostat or replace if faulty |
| Noise | No strange sounds | Inspect fan or motor for issues |
| Heat Output | Warm air flows steadily | Clean or repair heating element |
Testing ensures the heater is safe to use and cleans well. It saves energy and avoids breakdowns. Proper testing means a warm and comfortable home.
Maintenance Tips
Cleaning and checking it often prevents problems and extends its life. Follow simple steps to care for your heater. This guide explains how to clean it and what signs show it needs attention.
Regular Cleaning Schedule
Set a cleaning routine to avoid dust buildup inside your wall heater. Dust and dirt reduce heating efficiency and can cause smells or damage. Clean your heater at least twice a year, ideally before and after the heating season.
- Turn off the heaterand unplug it before cleaning.
- Remove the covercarefully to access the inside parts.
- Use a vacuumwith a brush attachment to remove dust from vents and coils.
- Wipe the exteriorwith a damp cloth to remove surface dirt.
- Check and clean the air filterif your model has one.
Keep a simple calendar or reminder to mark cleaning days. Consistent care helps your heater run well and saves money on repairs.
| Task | Frequency | Tools Needed |
| Vacuum dust inside heater | Every 6 months | Vacuum cleaner with brush attachment |
| Wipe exterior | Monthly | Damp cloth |
| Clean air filter | Every 3 months | Soft brush or vacuum |
| Check for damage or wear | Every 6 months | Visual inspection |
Signs Of Heater Issues
Notice any changes in your wall heater’s performance. Early signs help avoid big repairs or hazards. Watch for:
- Strange noiseslike rattling or buzzing when the heater runs.
- Unusual smellssuch as burning or musty odors.
- Weak airflowor not heating the room properly.
- Frequent cyclingturning on and off too often.
- Visible damagelike cracks, rust, or loose parts.
Check the heater regularly for these signs. If you find any, stop using the heater and contact a professional for inspection or repair. Ignoring these signs may cause safety risks or higher energy bills.
| Issue | Possible Cause | Action to Take |
| Rattling Noise | Loose parts or debris inside | Tighten parts or clean inside |
| Burning Smell | Dust burning off or electrical issue | Clean heater and inspect wiring |
| Weak Heat | Blocked vents or dirty filters | Clean vents and filters |
| Frequent On/Off Cycling | Thermostat or electrical problem | Check thermostat and wiring |
Frequently Asked Questions
How Often Should I Clean My Wall Heater?
Clean your wall heater at least once a year. Regular cleaning prevents dust buildup and improves efficiency. More frequent cleaning may be needed in dusty environments or during heavy use seasons.
What Tools Are Needed To Clean A Wall Heater?
You need a vacuum cleaner with brush attachment, a soft cloth, mild detergent, and a screwdriver. These tools help safely remove dust, debris, and clean the heater’s surfaces without damage.
Can I Clean A Wall Heater Myself Safely?
Yes, you can clean a wall heater safely by turning off the power first. Follow manufacturer instructions and avoid using water on electrical parts. If unsure, consult a professional for maintenance.
Why Is Wall Heater Cleaning Important?
Cleaning a wall heater improves air quality, prevents fire hazards, and boosts heating efficiency. Dust and debris block airflow and cause the heater to work harder, increasing energy costs.
Conclusion
Cleaning your wall heater helps it work better and last longer. Regular care keeps dust and dirt from building up inside. Always turn off the heater before you start cleaning. Use a soft brush or cloth to remove dust gently.
Checking for blockages improves air flow and saves energy. A clean heater also keeps your home safer. Try to clean it every few months for best results. Small efforts make a big difference in heater performance. Stay warm and save money with simple cleaning steps.