Every product is independently reviewed and selected by our editors. If you buy something through our links, we may earn an affiliate commission.
There’s something timeless about cooking with a cast iron skillet. From the perfect sear on a steak to the crispiest edges on cornbread, these pans are culinary workhorses.
But when it comes to non-stick cooking, many shy away from using cast iron due to its reputation for sticking. Fear not! With the right techniques, your cast iron skillet can become beautifully non-stick, rivaling any modern non-stick pan.
Let’s dive into the steps to transform your cast iron skillet into a non-stick wonder.
How To Make A Cast Iron Skillet Non Stick When Its Cooking Surface Is Damaged
The secret of this extra care is nothing but giving your cast iron frying pan a proper seasoning. Most of the cast iron pans available in the market are now pre-seasoned, which can easily make you confused.
It’s a bit confusing because these skillets are pre-seasoned, so they should be non-stick, but actually, those skillets aren’t completely non-stick.
So, let’s see how you can make your cast iron pan non-stick.
- Put the black salt in a crock pot or ceramic bowl
- Pour more oil into the skillet, and wait until it smokes
- Add one more cup of salt and make it discolor
- Then, put the salt again
- Now, Wait a few hours, you see cast iron non-stick
If the seasoning of your cast iron is scraped off, then the below-mentioned method will not work. First, it’ll need to clean the pan properly if any layer of seasoning is damaged.
It’s a fast as well as laborious method. Now, It’ll give you an ultimate non-stick cast iron frying pan. So, it may discolor, and doing it wrong won’t make it slick.

- Includes 6 Ounce Seasoning Spray, Pan Scraper, Silicone Handle Holder, Scrub Brush, and Use and Care Booklet
- Polycarbonate Pan Scraper features assorted angles for easy cleaning
- Silicone Handle Holder protects hands from heat up to 500° F
- Pan Scraper and Silicone Handle Holder are dishwasher safe
- The Scrub Brush’s nylon bristles help preserve cookware’s finish
Ingredients
- A few cotton rags
- A set of tongs will do even better
- A couple of potholders/kitchen gloves will do
- A glass of water
- A kettle
- Plenty of salt
- Grapeseed oil/others also will do
- About an hour of hard work &
- A bowl of patience
Instruction
- Turn on your stove high, set a kettle with a glass of water on the stove, and let the water make noise inside the kettle. Also, turn your burner on.
- Make a scrubber with the rags. Make it in a manageable shape so that you can easily set it on the tongs to maneuver it with full control.
- By the time your burner is hot, turn it down to low, put your skillet on the burner and add enough oil (around half a cup) and wait until it becomes hot.
- When it’s hot, add a cup of salt, turn the burner up to medium and stir them together until the salt becomes grey.
- Now put your kitchen gloves on and grab the handle of your skillet in one hand and hold the set of tongs firmly with your other hand.
- Move the salt around inside the skillet using the scrubber that you made.
- Move with pressure, push harder and scour the skillet with the hot salt (I’ve already said that it’ll make you sweat).
- In the meantime, the salt should discolor as you’ll see the black flecks coming out of the cooking surface of your pan.
- Keep scouring until the salt becomes black.
- Once the salt becomes black, dump it in a crock or ceramic bowl, pour more oil in the skillet, let it come to the smoke point.
- Now add another cup of salt and keep scouring again until the salt becomes significantly discolor and then dump the salt again.
- Wait a few hours to throw the salt into the trash can as it’s too hot.
- The cooking surface of your skillet should look shiny.
Dust out every single dot of the salt, add new oil and polish the skillet evenly using a paper towel and consider following the oven seasoning method; I mean, the ideal seasoning to make your old or used skillet as non-stick as you want.
So, no matter if it’s pre-seasoned or not seasoned, you’ve to ensure proper seasoning to make the cooking surface of your skillet so slippery that it can smoothly slide off anything of the cast iron skillet.
Anyway, seasoning a cast iron skillet is the act of polymerizing its cooking surface with a thin but hard glassy coating of petrified grease.
You can use safflower, vegetable, or canola oil if there’s no petrified grease, but olive oil shouldn’t be used.
This polymerization not only makes your skillet non-stick, it also protects it from getting rusted by creating a curb between the air and the iron in your pan.
But, you’ll be happy to know that this seasoning doesn’t require any high-maintenance industrial tool that isn’t available in your kitchen.
How To Care For Non Stick Cast Iron Skillet
Now, it’s not a big challenge for you to take proper care of your cast iron frying pan as you already know how to season it to make it non-stick again and again.
Just never do the following things if you want to get the best from your cast iron skillet-
- Never marinate anything in your cast iron skillet. It may damage the layers.
- You may use soapy water to clean it, but never let it soak water. It may create rust.
- Never put your cast iron pan in the dishwasher.
- Never leave it outside the cupboard; at least keep it wrapped with aluminum foil.
- Never leave/store food in your cast iron griddle.
No need to call any chef to surprise your husband with a dish of restaurant-quality steak. You can cook it with the help of this easy-to-follow recipe if there’s a non-stick cast iron pan in your kitchen.
That’s all I know about how to make a cast-iron skillet non-stick. You can also season your skillet without using any oven.
But the benefit of seasoning in an oven is that it can season both the surface and bottom at the same time. Feel free to share your seasoning hacks if yours are easier!
How To Deposit Your Cast Iron Account With Grapeseed Oil And Oven
There are other currencies and methods, but grapeseed oil is the best currency to make the first deposit to your cast iron frying pan account.
While making your deposit, you’ve to remember that the ideal seasoning temperature is the smoke point of your oil.
Below that temperature will not create any layer, and above that temperature for too long will eat up all of your previous deposits (if any). So, be careful, and let’s see how to make a deposit.
First, preheat your oven to 200°F. Stupid will ask you to preheat your oven to the highest, but the slower baking at lower temperatures creates a stronger layer.
By the time, heat up your skillet on the stove for five minutes. It’ll remove invisible lingering moisture from the skillet.
Now check the temperature of your oven. Put the pan in the oven for ten minutes if the temperature is 200°F.
After ten minutes, remove the pan and set the oven to 300°, and preheat it to that temp. It was the drying out process which has made your skillet prone to soak the seasoning.
However, add one teaspoon of grapeseed oil carefully to the hot pan, make sure there is flawless coverage, including the handle and the back of the pan.
Then wipe away the extra oil with a clean paper towel. The pan should look dry now, though it’s actually not.
That’s it— no more oil than that because you are going to create possibly the thinnest layer of seasoning into the pan and essentially not on top of it.
Once the temperature in the oven hits 300°, place the pan in the oven upside down for 10 minutes. It’ll leave no chance for oil residue to create pooling at the edge of the cooking surface.
Now remove the skillet and again carefully wipe away if you can see any oil residue. It may happen as heat increases the motor activity of the oil. Put it on the stove and set the oven to 400°.
When it reaches the selected temperature, put back the skillet again in the oven and ensure constant heat for the next one hour. Heat will remain constant inside the oven if you don’t open the door.
After an hour, just switch off the oven and leave it closed for one more hour, and don’t forget to use kitchen gloves when handling the hot skillet. Your first deposit is done. You can repeat the process again and again to make more deposits.
When it’s creating a layer to season your cast iron pan, the thinner the layer, the better it is. It’s because thick layers are prone to scrape off.
Anyway, this is the ideal seasoning for a brand new cast iron pan, and there’s a faster method which is better to clean and season your used pan.
How To Season A Cast iron Skillet
You can season your skillet in several ways, and the simplest one is to keep cooking with your skillet as often as you can.
The more you use your cast iron frying pan, the better it gets. This seasoning method is known as a natural seasoning which, in a sense, is very much like a bank account.
Some of your cooking in it is deposits to your account, and some things are withdrawals. Here making recipes or cooking foods act as withdrawals, and cooking only oil for half an hour acts as a small deposit.
Cooking oil or fat for an extended period at high temperatures makes the skillet not stick. But, it takes several months of cooking to make your skillet slick enough to fry eggs or sear steaks.
Here’s the difference between seasoning and proper seasoning. Proper seasoning means there will be a number of thin glassy layers on the surface of your pan.
Do I Need To Season A Pre-Seasoned Skillet
If it’s pre-seasoned, you can start cooking with the skillet without seasoning, but the cooking surface won’t be so non-stick and slick. Most of the pre-seasoned cast iron griddles or frying pans come with three seasoned layers.
But three layers is not enough to make a skillet as non-stick as a cook needs to make a dish full of crispy fried foods or perfectly seared steaks.
So, either you can consider making some deposits or can start withdrawals from your readymade pre-seasoned cast iron skillets.
If you don’t make any deposit first, your skillet may at first stick a bit while cooking ribs, egg, or other protein. But, nothing to worry about; the more you use it, the better it gets.
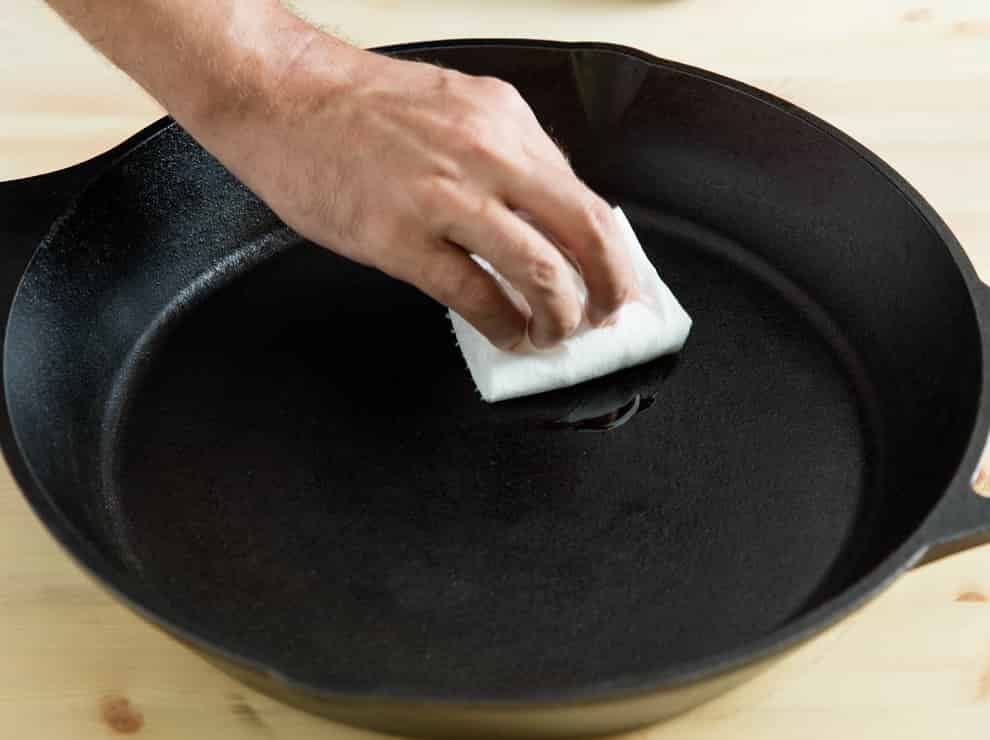
How To Clean A Cast iron Pan After Use That Won’t Destroy It’s Non stick Surface
Cleaning a cast iron pan is entirely different from cleaning other pans. Cleaning the wrong way will damage its seasoned layers.
However, most of the time, cleaning a cast iron skillet is easier than cleaning any other cookware. These are the most widely used cleaning methods which you can follow to clean yours.
No Cleaning Required: Yep, it’s true. If your cast iron skillet is completely non-stick, there will be no food or oil residue after finishing your cooking. Everything will slide off of the skillet as soon as you tilt it. Just send it back to the cupboard.
Wipe With a Paper Towel: Wiping up with a paper towel is enough if there’s any oil residue in your skillet. No further action is required. You can reuse your cast iron pan later at any time.
A Little Salt: Sometimes some food sticks to the cast iron surface, and a little more cleaning is required. If you find such food residues, put half a teaspoon of salt on it, add a few drops of oil and gently scrub with a paper towel. If this works, you’re all done.
Boil Water: But, if the salt cant’ remove the residue, then add a cup of water, boil it for two minutes and then drain the water.
Most of the time, the skillet becomes clean after draining out the hot water. You can repeat the process one more time if it’s needed.
Apply Spatula Treatment: If all the above cleaning hacks fail to clean your skillet, then there’s no way but to apply this final treatment. But be careful while applying this trick. A simple mistake may break the seasoned layers.
Anyway, after draining the water, scrub the stuck object with a plastic scrubber and wash it with fresh water. Remember that using a metal scrubber will take the seasoning off of the skillet.
Some cooks use soapy water every time they clean their cast iron skillet. There’s no problem in using soapy water if you dry out your pan almost instantly after cleaning.
How To Thoroughly Dry A Cast Iron skillet After Cleaning
If you don’t thoroughly dry out your skillet, it’ll get rusty, and wiping it up with a paper towel can’t make your skillet dry. So, after cleaning, put it on the stove and turn it to high. It’ll take two to three minutes to say goodbye to the visible water. When all is gone, turn off the stove and store your skillet in the cupboard.