Every product is independently reviewed and selected by our editors. If you buy something through our links, we may earn an affiliate commission.
Ribs are so delicious to eat when you get them to have chewed and to pull the tender, juicy meat cleanly off the bone while taking a soft bite.
But, determining this yummy doneness is a big challenge while cooking ribs as you can’t insert a meat thermometer into its thin layer of meat.
So, it’s very important to know how to tell when ribs are done without using a meat thermometer.
In most cooking, cooking time helps to know the doneness where an instant-read thermometer can’t be used. But, due to the variety of weights and thicknesses of the ribs, this method also can’t give off an accurate result.
So, smart home chefs like my grandma follow some peculiar cooking hacks to tell if the finger-licking, tender rack of ribs are done.
Let’s learn the hacks.
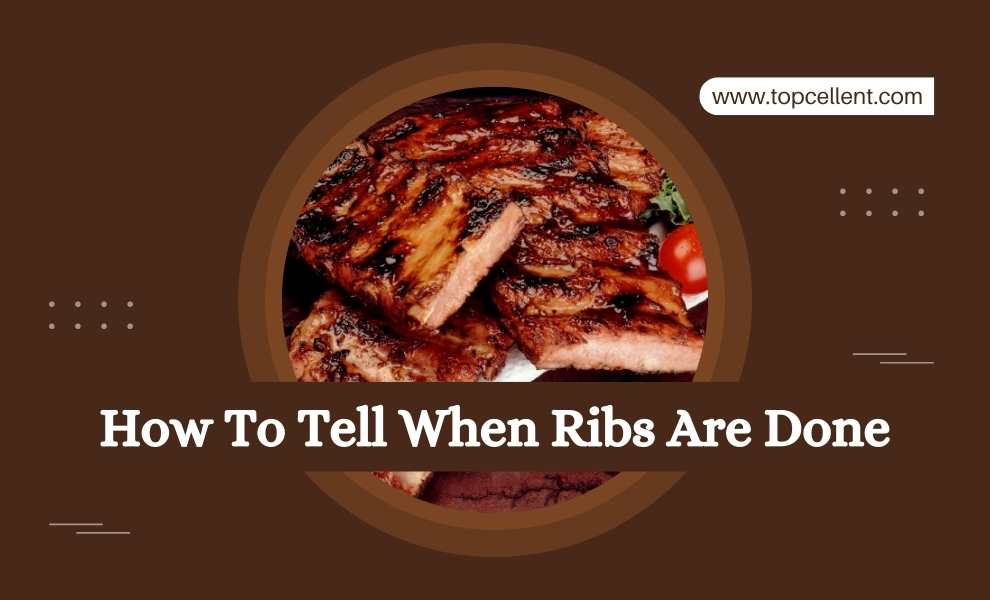
How To Tell When Ribs Are Done (9 Ways To Know)
Using a combination of look and feel is the main weapon of the pro BBQ enthusiasts to determine when ribs are ready. Nothing to worry about.
It’s pretty easy, and I’m now going to show you some of the most common ways you can try to know when your perfect BBQ ribs are ready to eat.
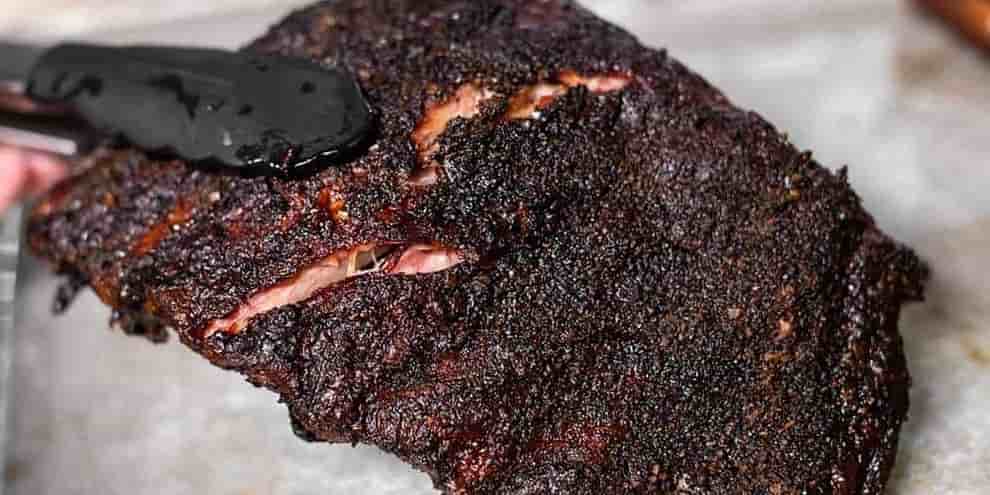
The Color Test
This is a visual test which is mostly known as The Peek-a-Boo Test. Open the door of your smoker and take a close look at the ribs.
Then, remove it from the rack and cut a slice into the thickest part of the meat to perform the color test. If it’s ready, there will be a thin pink layer of meat just beneath the surface, and the meat in the center should be white/ tan.
There should be no liquid inside the meat. If the inside of the meat is too greasy, then it’s not ready to serve (keep it back in the rib rack) and if you see a thick layer of light brown meat under the pink meat, then be sure that it’s overcooked.
It’s okay if you want a dish of fall-off-the-bone ribs. But, if you want to pull the juicy meat cleanly off the bone, then you’ve to remove the ribs from your smoker rack 30 minutes earlier.
This cut may destroy the beauty of your ribs (not the taste), and essentially the color test can be misleading. So let’s move on to the more reliable tests.
The Crack Test
In this test, you’ve to look at the bark on your ribs. Follow A (open your smoker door) and B (remove the ribs), take a tong, and heft the rack of your ribs using it. Then, slightly bounce the rack up and down.
Now, if the rib is ready, the cracks on the bark of your ribs will be close to breaking while bouncing, and if it’s not ready, then you’ll see no or a few small cracks on the surface.
The Twist Test
It’s a fun test, and you’ll love it. No need to follow B to perform this test. Just put on your heat-resistant barbecue gloves and open the smoker door, hold a tip of the bones steadily and try to twist it.
If you can twist it easily, then your ribs are done. You should twist the tip of one of the middle bones because the whole rack of ribs is done when the middle is done.
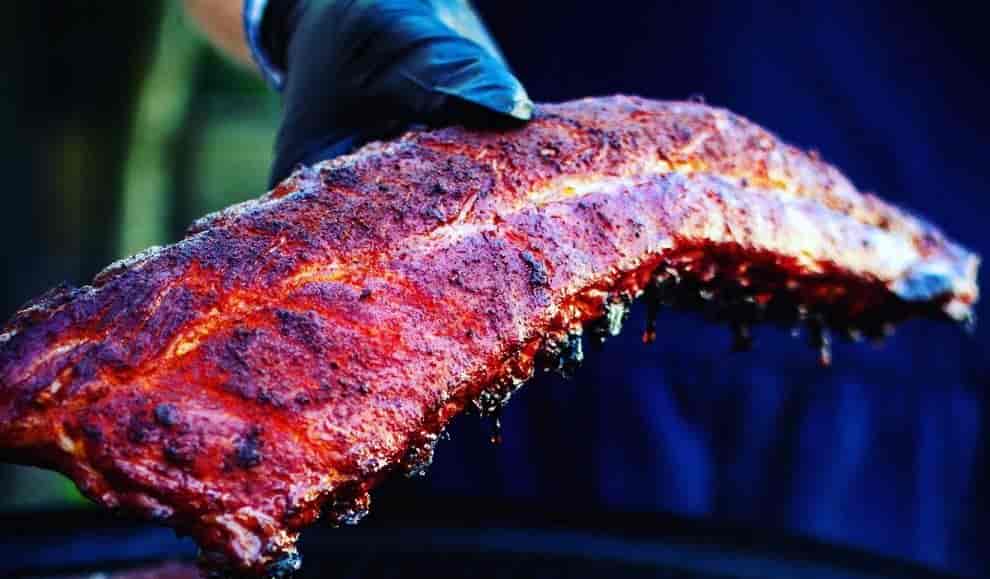
The Bend Test
Though not my favorite method, the bend test has been trusted for decades. It’s a fast and simple test to tell when ribs are done.
The slab of ribs becomes flexible when it’s done cooking, and you can check the flexibility with this test.
To execute this test, firmly hold the thickest end of the slab with a sturdy pair of tongs, lift it up without twisting your wrist and observe how the slab bends.
The other end of your slab will bend horizontally towards the ground only if your ribs are done. It also will create cracks on the bark.
The Time Test
Due to varying thicknesses, this method can’t give off accurate results for all slabs. But, this is the first method you can try before testing any other methods, and you don’t need anything extra to try this method. Your wristwatch is enough.
St Louis ribs will take about 5 to 6 hours, and 3 to 4 hours is enough to cook a rack of baby back ribs at the 225°F temperature.
This is the ideal temperature to grill/smoke ribs. But, as I said, sometimes you may get the ribs slightly undercooked and sometimes overcooked if you rely only on this test.
The Taste Test
This is the most delicious method to determine the doneness of your ribs. But you can go for this method only if you don’t mind taking the challenge of eating a piece of uncooked meat.
Also, before getting your tongue on this test, don’t be lazy to remember that eating unevenly cooked meat isn’t just disgusting; it also may cause several health issues.
Anyway, take a suitable kitchen knife, follow A and B, cut a small piece from the thickest end, and eat the meat to check if your ribs are done.
In this test, your tongue will give you the next direction whether to put the ribs back in the smoker or pass to the dining table. It’s a very good way of whetting your appetite while you count the time with an empty stomach.
The funniest part of this delicious test is that you’ve to cut off another piece from the slab; if you get the ribs uncooked on your first attempt, then another, then one more, then there’s nothing for the guests.
So, let’s see the next test.
The Pop-up Test
Some expert cooks opine that the bones start peeking out and one-quarter of an inch from all the bones becomes visible when the ribs are done.
But, I’ve noticed that meat usually shrinks at high temperatures, and you may see the meat pull back one-quarter of an inch from the tips of the bones (1/4” of bare bone tips) even if the center of the meat isn’t ready to eat. So, I don’t like to rely on this test. See the last test.
The U Test
This is more or less the same as the bend test. But, instead of a pair of tongs, you’ll need a pair of kitchen gloves to pick up the rack of ribs.
After removing the ribs from the smoker, hold two ends with your two hands, lift it up and bend the slab down into an inverted “U” shape.
The ribs are ready if the surface starts cracking up before the bend reaches 45 degrees, and if you don’t see any cracks on the bark after you bend more than about 45 degrees, then your ribs will need more time to give off that dream taste.
What’s The Fool-Proof Way To Know Your Ribs Are Ready
Yap, it’s true that none of these methods are 100% accurate. Moreover, without prior experience, you’ll never understand how deep a crack should be.
So, there’s a risk of wasting a great slab of ribs if you rely on these tests without any expert supervision. Anyway, most beginner BBQ enthusiasts follow this method, and their ribs taste great-
The Toothpick Test
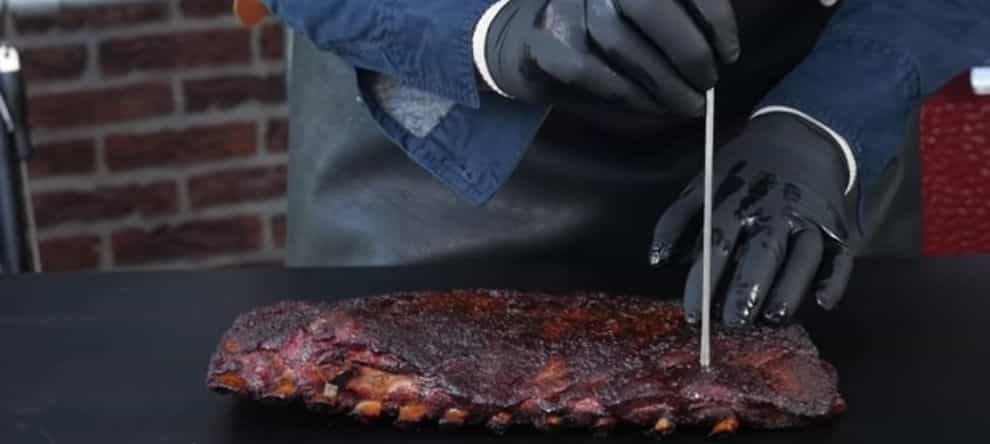
Did you know that a toothpick can help you check if ribs are ready to eat? This is the easiest method out there for checking the doneness of ribs and other cooked meats.
This test gives off the most accurate result without creating any real damage on the surface of your ribs.
Take a toothpick, follow A, be careful not to burn your fingers, and gently poke the toothpick into several parts of the meat between the bones.
Your ribs are done if the toothpick slides in and out easily with nearly no resistance. And if it’s difficult to poke the toothpick, then you should leave the rack of your ribs back in the smoker for a few more minutes.
What Temperature Should You Cook Your Ribs
There are a thousand and one options to cook ribs. You can cook ribs in a charcoal grill, pellet grill, charcoal smoker, electric grill, gas grill, and even in your favorite dutch oven.
You may prefer low and slow cooking, or you may need to cook fast. You may wrap your ribs in foil, or you may leave it naked in your smoker.
Different cooking methods require different cooking temperatures. The cooking temperature is always determined by the cooking method.
But generally, ribs require cooking at a minimum temperature of 190°F, and the internal temperature of your grill or smoker should be stabilized at 225°F.
Do You Need To Cook Ribs Past “Done” To Make It Ready To Eat
You can’t eat ribs as soon as it’s done because, according to USDA, your ribs are “done” when they reach 145°F internal temperature.
But, at this temperature, you’ll get the ribs too tough to bite, and Fall Off The Bone Ribs is a long way off. Unlike a brisket, there are numerous collagens, bones, and connective tissues in the ribs.
To make the ribs comfortably edible, you’ve to make those hard-to-bite elements meltdown, and to melt them down and render; you’ll need to cook your ribs until it reaches a minimum temperature of 190°F.
That’s why you need to cook ribs past “done” to make sure you can pull the tender, juicy ribs cleanly off the bone with a single bite.
5 Mistakes To Avoid When Cooking Ribs
A simple mistake in checking the doneness can simply destroy the amazing taste of your ribs. So, can you imagine how careful you should be while cooking it? Avoiding these mistakes will help you cook the ribs deliciously-
-
Not Removing The Membrane
The membrane isn’t entirely inedible. But this thin layer acts as a deathwatch against making your rack of ribs super-tender.
It also becomes tough and uncomfortable to chew when it comes close to high temperatures. So, flip the rack of ribs upside down and remove the membrane carefully using a boning knife.
-
Not Pre-cooking The Ribs Before Grilling
Sometimes ribs become dry because of overcooking. To make the ribs moist, tender, juicy, and not dry, you’ll need to cook it for a long period of time in low and stable temperatures.
Usually, it’s very tough to control the grill temperature at the beginning, and nowhere it’s written that ribs must be cooked on the grill from start to end.
So, to avoid uneven cooking or burnt meat and to make sure tender finish with perfect moisture, pre-cook the ribs before placing them in the grill. You can simply oven-bake or boil the ribs for pre-cooking before firing up the grill.
-
Putting The Sauce On The Ribs Too Soon
Sauce enhances the taste of the ribs. But putting it too early on the ribs gives off a rack of burnt ribs because sauces contain sugar, honey, or maple syrup which are prone to a burn-in touch of high temperature.
So, don’t give your ribs a coating of sauce 100 minutes before you finish cooking. You can sauce your ribs only 10 minutes before the end of cooking.
-
Overcooking The Ribs
It’s true that you need to cook ribs past “done,” but overcooking never gives you the real taste.
Though a lot of foodies rush for the “fall off the bone” ribs, you’ll never like these overcooked ribs unless you want to cook a dish of flavorful soup and essentially not flavorful meat for a guest who’ve lost all the teeth in the second world war.
-
Grilling The Ribs Completely Over Direct High Heat
You need to cook meat completely over direct high heat when you need to finish your cooking very quickly.
But a slab of ribs is not a piece of meat to be cooked fast. Ribs are full of bones and connective tissues, which require enough time to render.
As a result, a direct high temperature can easily lead the ribs to uneven cooking. Excessive direct heat can also dry the ribs out.
So, you shouldn’t grill the ribs completely over direct high heat, nor should you hustle while cooking it if you want to surprise your guests with the glorious taste of grilled ribs.
Final Verdict
Ribs are on top of those foods which define summer. The season is full of surprises and adventures, and rib cooking is full of variations and questions. how to tell when ribs are done is one of those questions, and a toothpick or a thin wooden skewer can give you the most accurate result.